
Compressive Strength of Hydraulic Cement Mortars (ASTM C109)
This post explains how to perform the compressive strength testing of hydraulic cement mortars according to the ASTM C109. Print this guide and keep it with you when doing the test to make sure you got everything.
Purpose of ASTM C109
The following will provide the information exist in ASTM C109 on how to determine the compressive strength of mortar cubes having a size of 50 mm × 50 mm × 50 mm.
Needed Equipment and Materials
Tools for ASTM C109 (Compressive Strength of Hydraulic Cement Mortars)
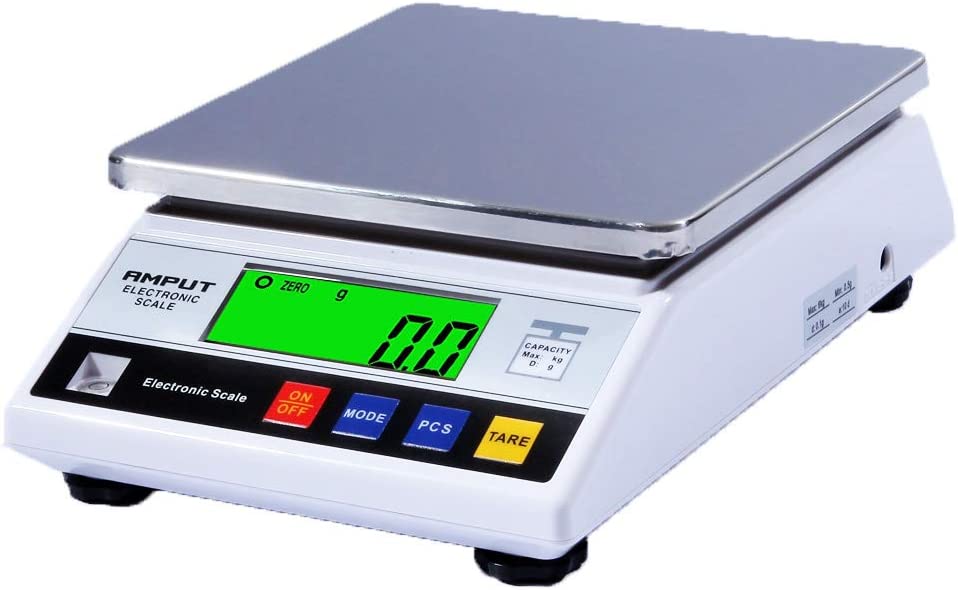
- A scale that has a minimum capacity of 2 kgs and accuracy of 0.1 grams.
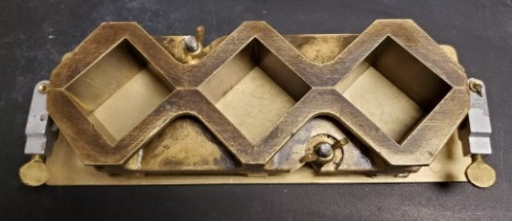
- 6 Cubic moulds with a side of 50 mm.
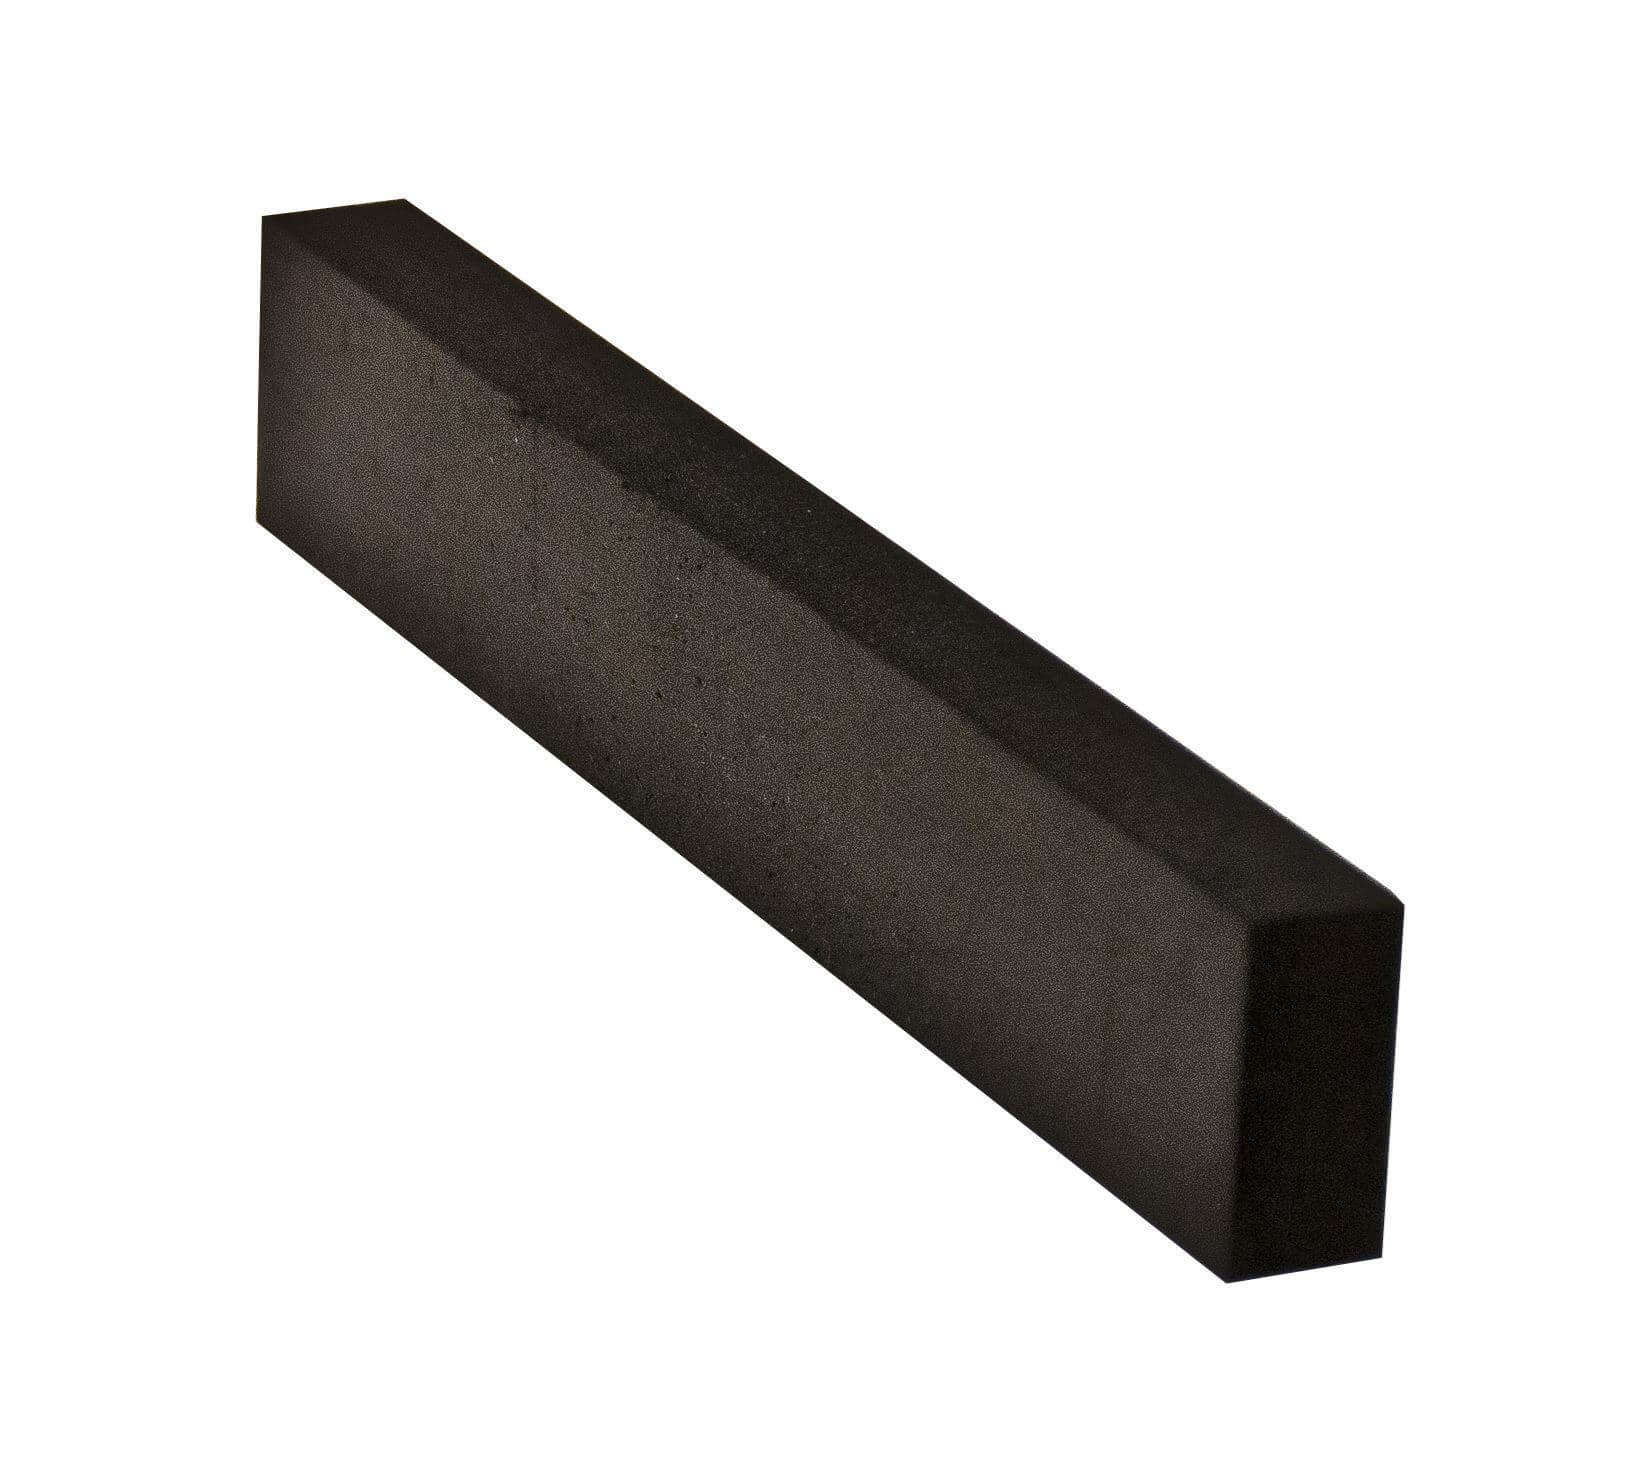
- Rubber tampers [dimensions are 13 × 25 mm for cross section and 12-15 cm for height]; ask for tampers made as per the ASTM C109 requirements.
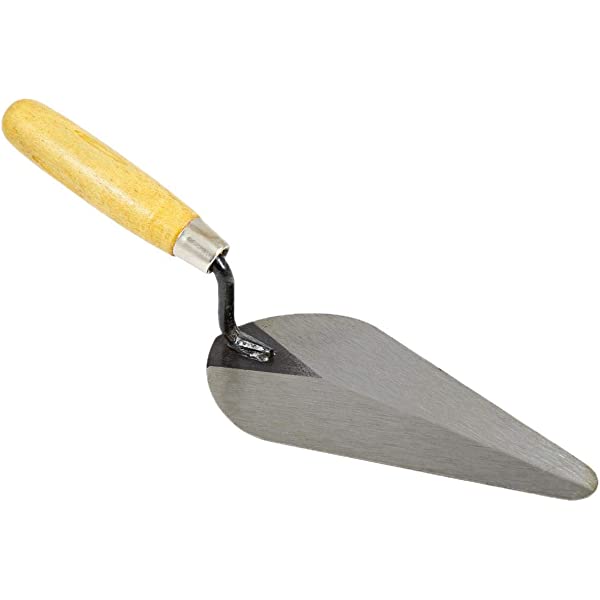
- Small steel trowels
- Large spoons
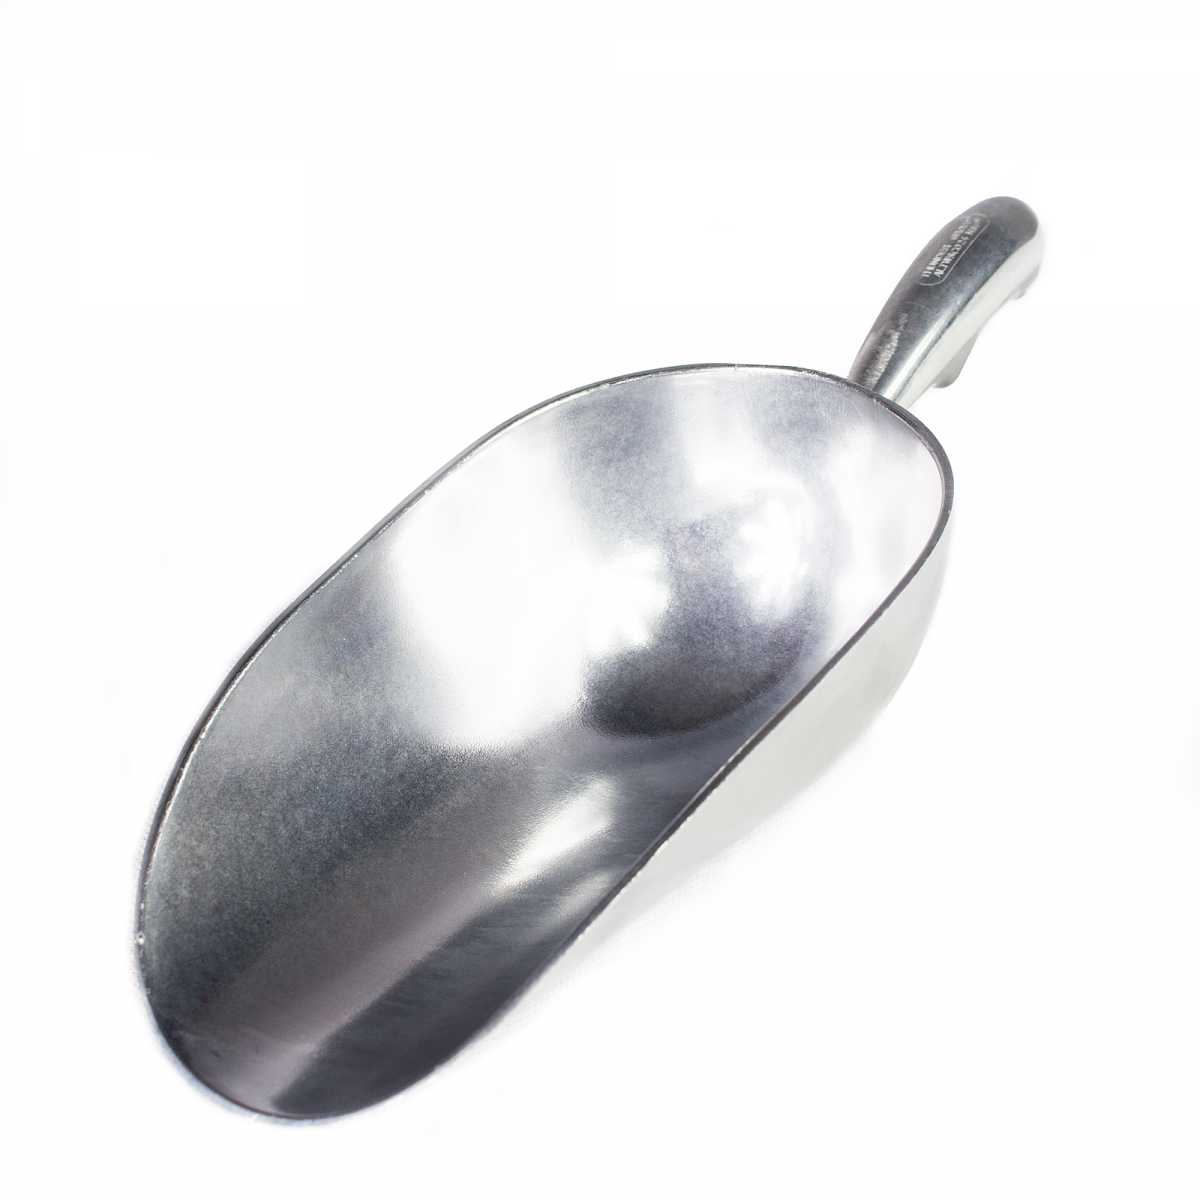
- You may need a scoop.
- Electrical mechanical mixer equipped with a paddle and mixing bowl

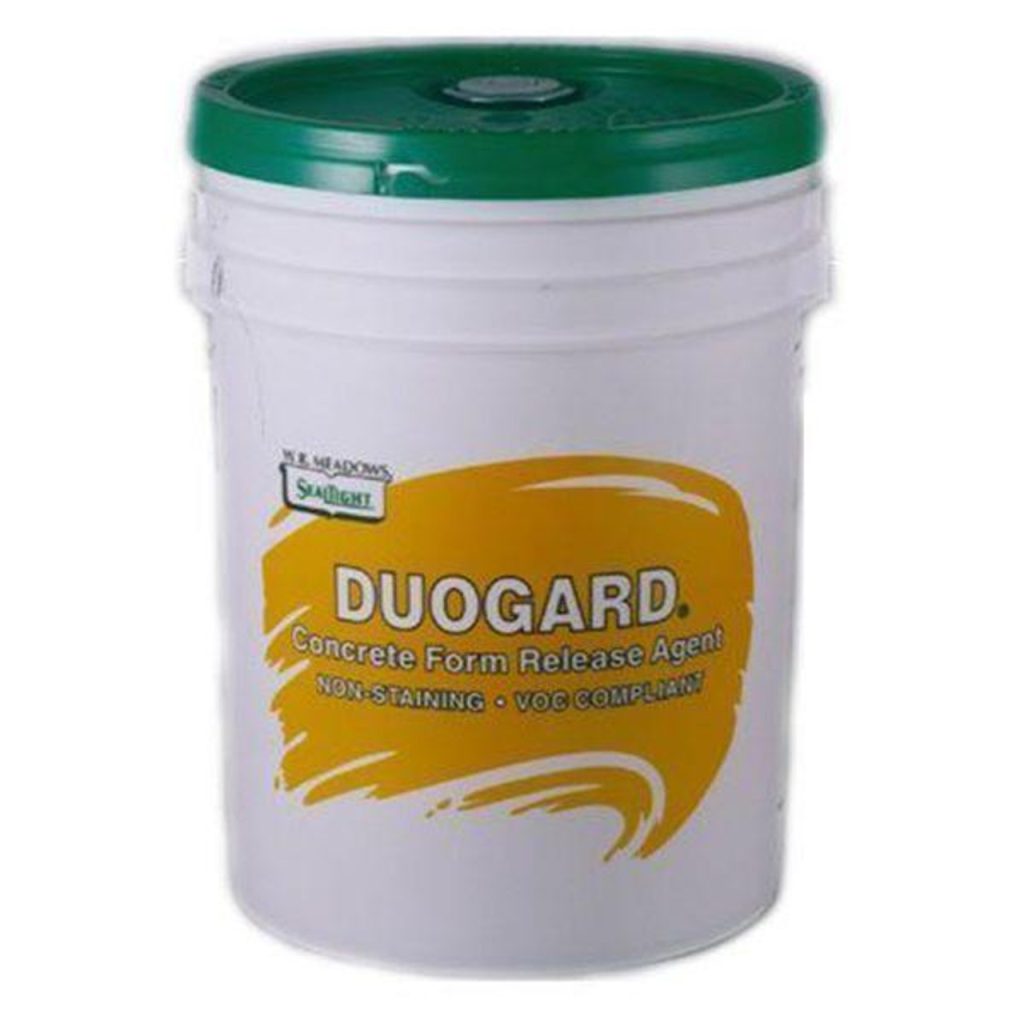
- Form releasing agent
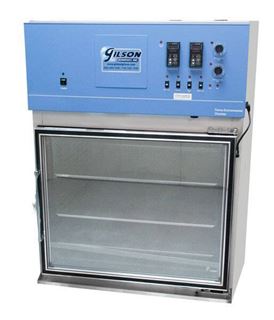
- Moist cabinet with a temperature range of 21°C – 25°C and relative humidity > 95%; curing rooms with same conditions work as well.
PPE (Compressive Strength of Hydraulic Cement Mortars)
Safety glasses
Rubber gloves
Mask

Materials (Compressive Strength of Hydraulic Cement Mortars)
- 500 grams (0.5 kg) of portland cement
- 1375 grams (1.375 kg) of sand
- 242 cubic centimeters (cm3) of water
ASTM C109 Test Procedure
Before starting to mix the ingredients for the mortar, spray the moulds with the release agent so that mortar does not stick to the mould sides.
Preparing the mortar
- Start the mixing process by place the 242 cm3 of water in the mixing bowl followed by the addition of the 0.5 kg of Portland cement.
- Mix water and cement at a slow speed (140 ± 5 rpm) for 30 seconds.
- Add the sand (1.375 kg) to the previous mix over a period of 30 seconds while continuing to mix at a slow speed.
- Pause the mixing process and increase the mixer’s speed to medium; it should be around 285 ± 5 rpm.
- Continue the mixing for another 30 seconds.
- Stop the mixer and let the mortar rest for 90 seconds. At this time of idling, scrape down any mortar or ingredients that might have collected on the sides of the mixing bowl. Do this in the first 15 seconds of waiting and then cover the bower for the remaining 75 seconds.
- Mix the mortar for additional 60 seconds and you are done.
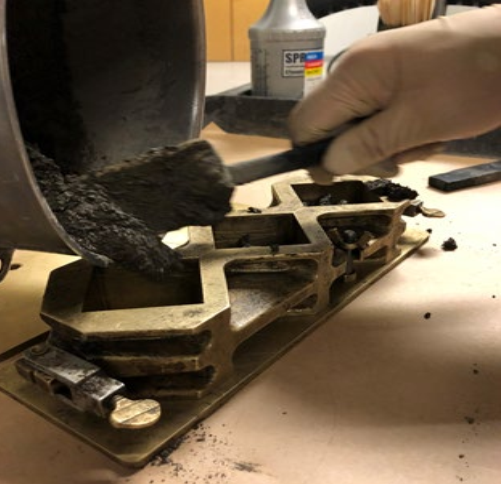
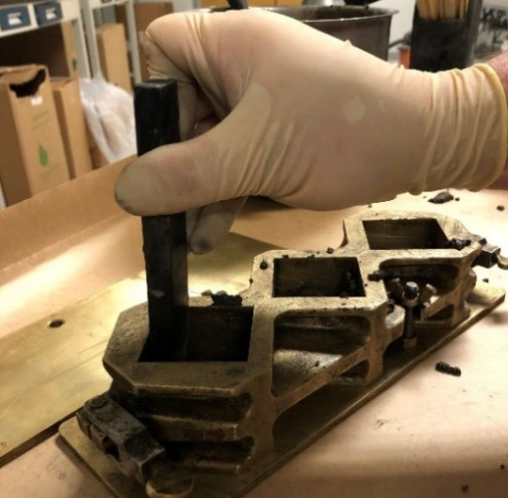
Casting mortar into moulds
- Right after the finish of the mixing, started filling the mortar moulds using the scoop or spoon. The number of layers should be two. This means place a layer of mortar (thickness of 25 mm) in all of the six cubes that you have or whatever the number you got.

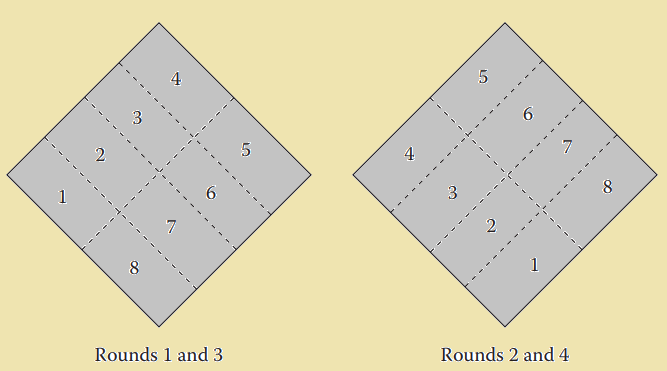
Casting the first mortar layer - Tamp the first layer in each mould with the rubber tamper 32 times with around 10 seconds. The sequence of tamping is as in the following figure (four rounds you need to do).

Tamping mortar
Each round of tamping needs to be at right angles to the other and includes 8 adjacent strokes that cover the surface of the specimens. When doing the tamping, make sure you use sufficient pressure that makes mortar fills uniformly in the moulds. For each mould, complete the full 32 times before moving to the next one.
- Next, add the second layer of mortar and follow the same procedure for tamping same as the first layer. Note that when you fill the second layer, mortar should exceed slightly the top level of the mould so that when tamping happens, the level when increase.
- For extra mortar above the mould level after tamping, carefully cut this extra mount with the edges of the steel trowel. You can also level the surface of each mould using that same steel trowel.
Curing mortar
- When you finish the casting and level of the surface, put the completed mortar cubes in the moist closet and make sure they are protected against dripping water. Keep them for 20 – 24 hours and then remove them from the cabinet. On a job site, place molds in a lidded cooler, with wet towels for curing. Move to lab at an appropriate time and place in humidity cabinet, if available
- Strip the cubes from the moulds.
- Submerge the mortar cubes a saturated lime water bath until cubes become ready for testing. Change the curing water periodically to keep the water clean. You can also do moist curing for the specimens until the age of testing.
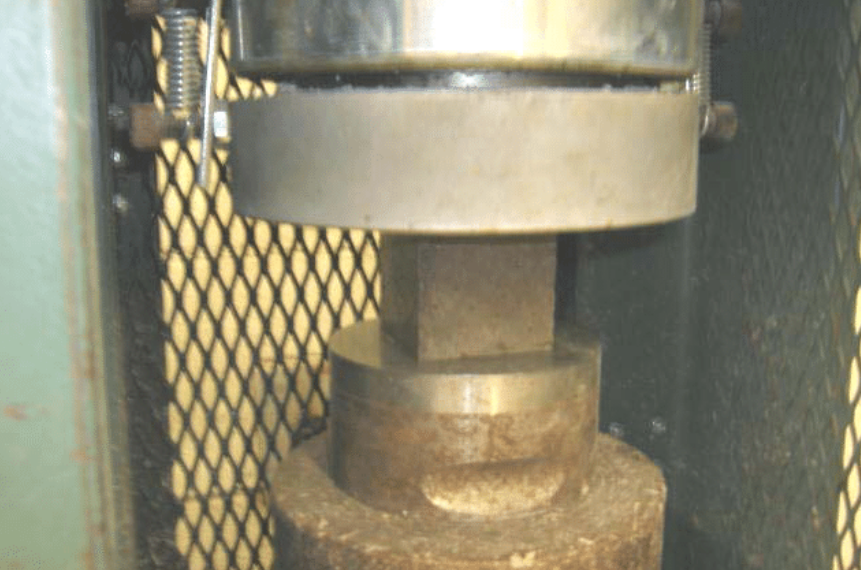
Compressive strength testing
- Within a certain amount of time, each specimen should be tested (depending on the age you need to the results at 1,3, 7, or 28 days). The following table shows the permissible time tolerance for each testing age.
-
Test Age Permissible time tolerance 24 h ± ½ hour 3 days ± 1 hour 7 days ± 3 hour 28 days ± 12 hour - Before doing the test, Wipe the surface of the specimens to make sure they are clean.
- Choose on the true surfaces of the cubes for load application. Check the cube surfaces with a straight edge. The surfaces coming into touch with the testing device should be cleared of any loose sand grains or other materials.
- The specimen has to be positioned in the middle of the testing device’s upper bearing block.

Compressive Strength of Hydraulic Cement Mortars - The upper platen can be given a thin layer of oil.
- The rate of load application should cause specimen failure between 20 and 80 seconds after starting.
Computations and Data Sheet
Computations
Record the maximum compressive load and compute the compressive strength in megapascals or pounds/square inch depending on the units you are working with.
Stress = Force / Area; Area of the cube surface = side width x side width
Data Sheet
You can use the data sheet below to document your findings.
| Specimen # | Time of Loading |
Total Load (Newtons) | Specimen Cross Section (mm2) |
Specimen Strength (MPa) |
| 1 | ||||
| 2 | ||||
| 3 | ||||
| 4 | ||||
| 5 | ||||
| 6 |
Read Also: